Settings
Menu: Settings · Always visible; individual sections depend on your plan and role
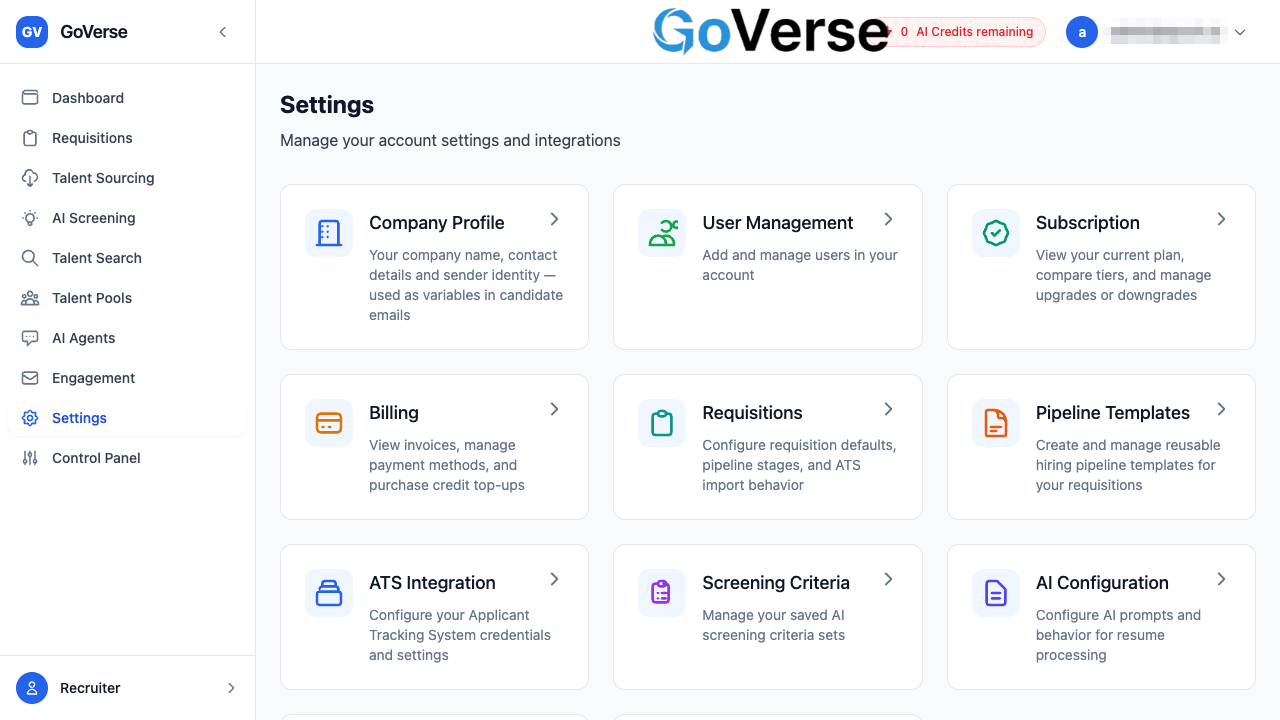
Settings is where you configure how GoVerse works for your account. It's a hub of cards — select a card to open that section. Which cards you see depends on your role and plan.
Who sees what
Most configuration sections are shown only to owners and admins: Company Profile, User Management, Subscription, Billing, Requisitions, Pipeline Templates, ATS Integration, and AI Configuration. Email Integration, Screening Criteria, and Theme are available to all members. Some sections also depend on your plan (see Plans & feature access).
How to get there
Select Settings in the left menu, then choose a section card.
Company Profile
Owner / admin
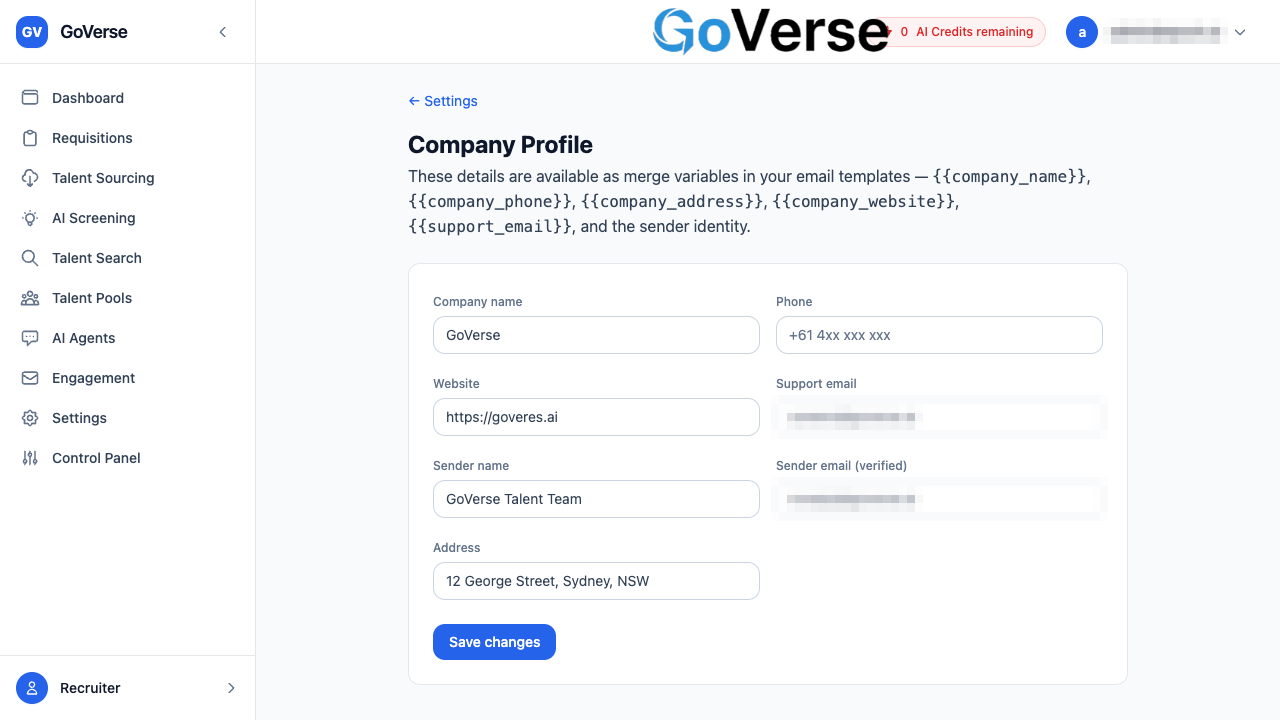
Your company name, contact details, and sender identity. These values populate the
merge variables used in candidate emails (for example {{company_name}} and the
recruiter/sender details), so keeping them accurate keeps your outreach on-brand.
- Settings → Company Profile.
- Fill in your company name, contact details, and sender identity.
- Save.
User Management
Owner / admin · multi-user requires the Agency plan
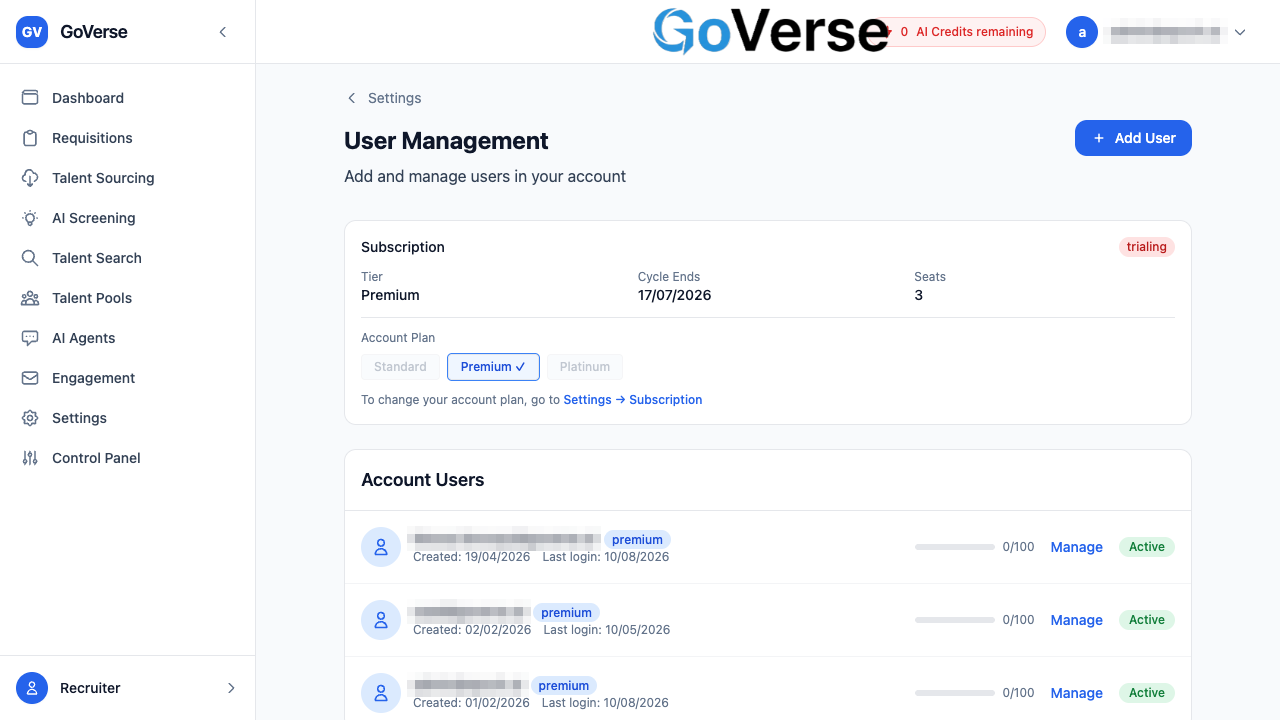
Add and manage the people in your account and their roles.
- Roles: Owner (full control incl. billing), Admin (manage settings and users), Member (day-to-day recruiting).
- Add a user: invite by email; they receive access to your account.
- Manage: change a user's role or remove them.
Plan limits
The number of members you can add depends on your plan (Free 1, Premium up to 10, Agency up to 50). See Plans & feature access.
Subscription
Owner / admin
View your current plan, compare tiers, and manage upgrades or downgrades.
- Settings → Subscription.
- Review your current plan and what each tier includes.
- Choose to upgrade or downgrade; follow the prompts to confirm.
Billing
Owner / admin
View invoices, manage payment methods, and purchase credit top-ups.
- Invoices: review and download past invoices.
- Payment methods: add or update a card.
- Credit top-ups: buy additional AI credits when you need more.
Requisitions
Owner / admin
Configure requisition defaults, pipeline stages, and ATS import behaviour — the starting point for every new role you open.
- Settings → Requisitions.
- Set your defaults (including default pipeline behaviour and how ATS imports map).
- Save. New requisitions pick up these defaults.
Tip
Related: manage the roles themselves in Requisitions.
Pipeline Templates
Owner / admin
Create and manage reusable hiring pipeline templates, so new requisitions start with a consistent set of stages instead of building them each time.
- Settings → Pipeline Templates.
- Create a template and define its ordered stages.
- Save; select it when creating a requisition.
ATS Integration
Owner / admin · plan-gated
Connect your Applicant Tracking System (SmartRecruiters or Workday) so you can import requisitions along with their candidates and keep stages in sync.
- Settings → ATS Integration.
- Enter your ATS credentials / connection settings.
- Save and connect; once connected you can import requisitions from the ATS.
Screening Criteria
All members
Manage your saved AI screening criteria sets — reusable definitions of what makes a strong candidate for a role. Save a set once and reuse it across screenings.
- Settings → Screening Criteria.
- Create a criteria set (the attributes/weights you want AI to evaluate).
- Reuse it from AI Screening.
AI Configuration
Owner / admin
Configure the AI prompts and behaviour used for resume processing (for example how resumes are parsed and enriched). Defaults work out of the box; adjust only if you need to tune extraction for your data.
Email Integration
All members · plan-gated
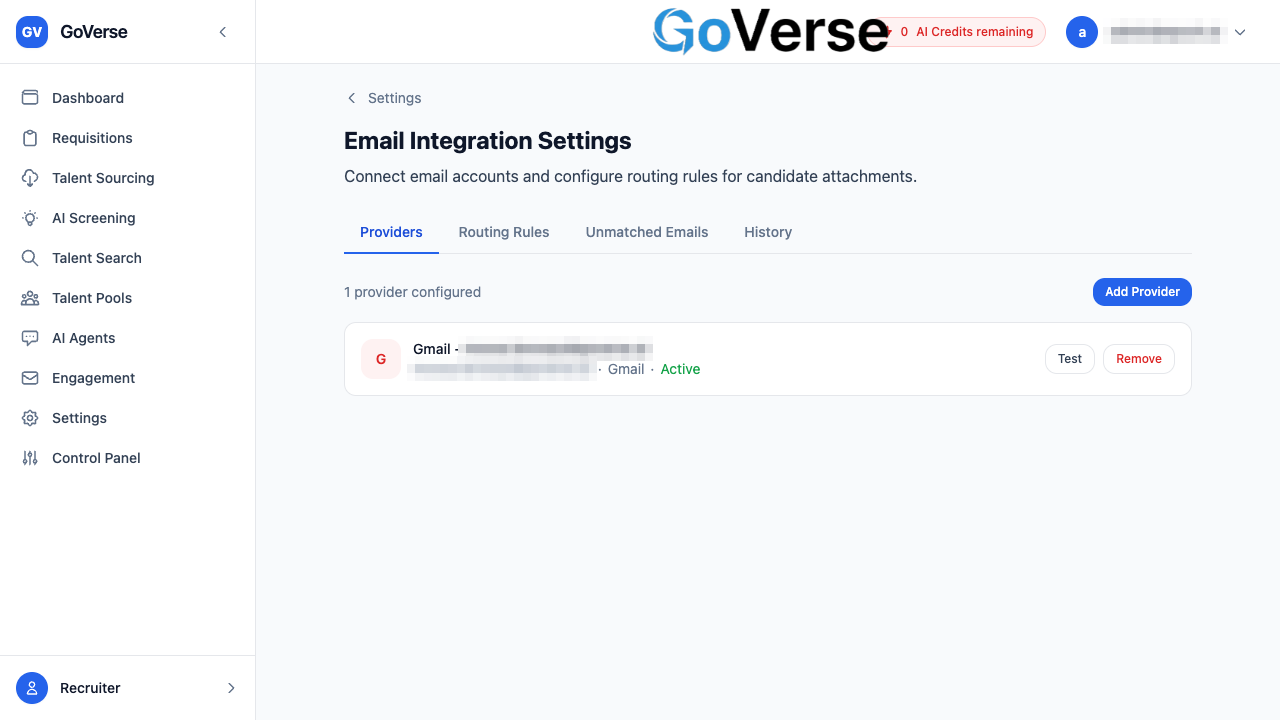
Connect an email account (Gmail or Outlook) and set routing rules so candidate attachments that arrive by email are imported automatically into GoVerse.
- Settings → Email Integration.
- Connect your mailbox and authorise access.
- Add routing rules that decide which incoming attachments are imported and where.
Theme
All members
Choose a colour theme for your workspace. This is a personal display preference and doesn't change anyone else's view.
- Settings → Theme.
- Pick a theme; it applies immediately.
More settings
GoVerse notes that more settings are on the way — the hub shows a "More settings coming soon" marker below the cards.